Posted by: Meagan | December 16, 2014

Weekly Cleaning Tip: Stinky Disposal Fix

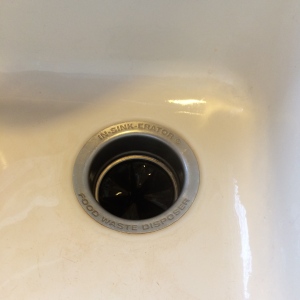
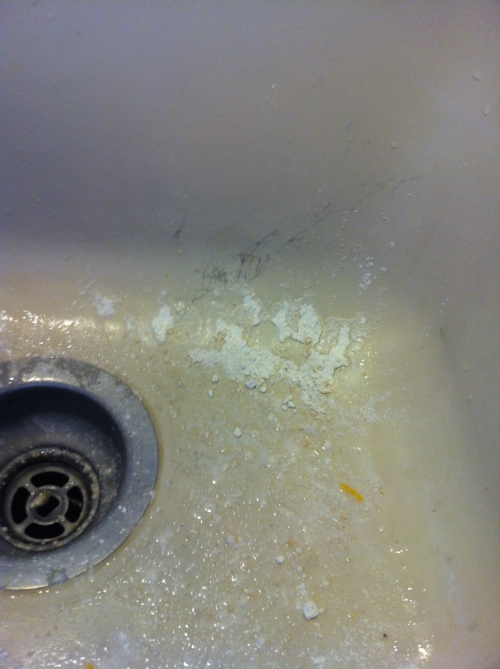
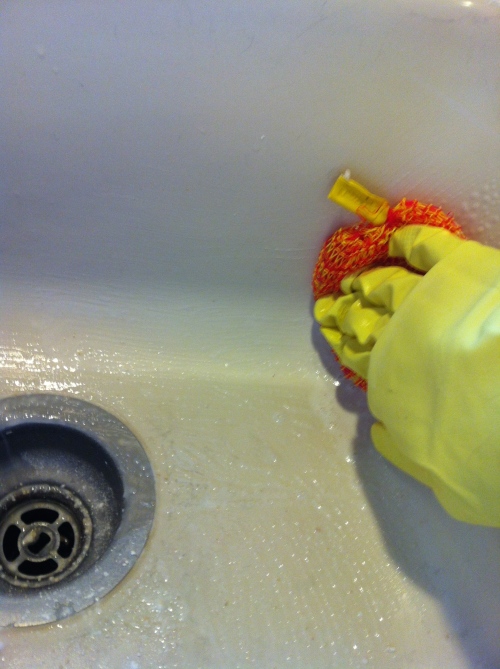
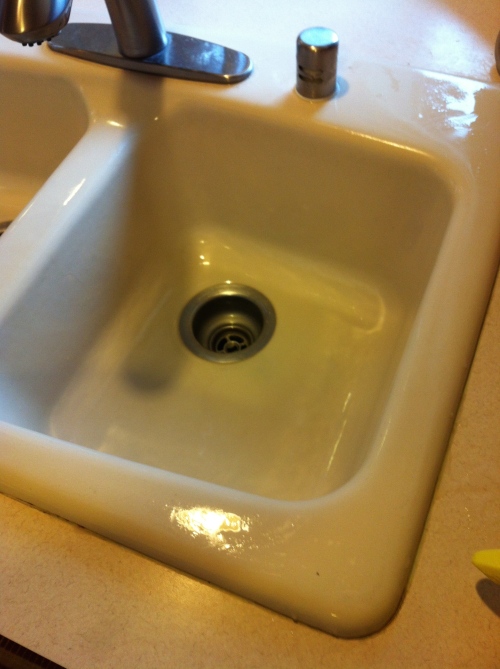
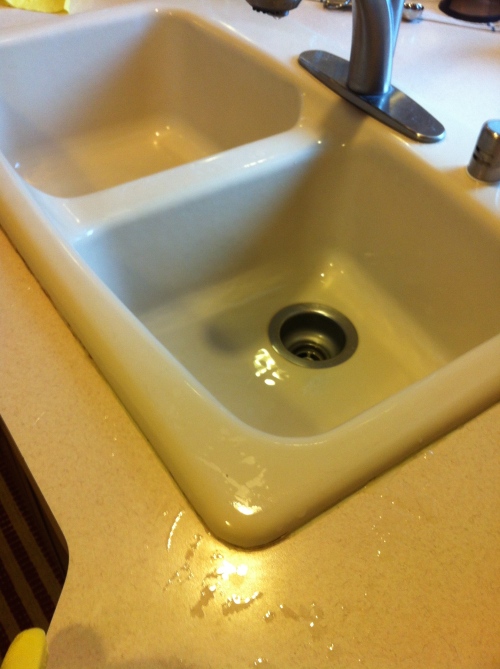
Now that you have a clean kitchen sink, you need to fix that stinky disposal. You can buy Plink balls and other stuff like that from the store, but I do have a cheaper (free even) solution for fixing a stinky drain. Citrus peels! It is easy and cheap, especially now since oranges and clementines are everywhere! Whenever you eat an orange or clementine save the peels and stick them in a sandwich bag in the freezer, then you always have peels on hand!

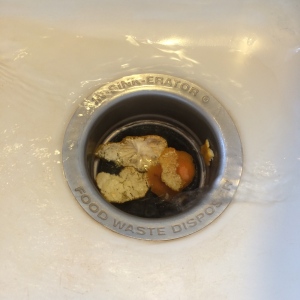
IMG_6020

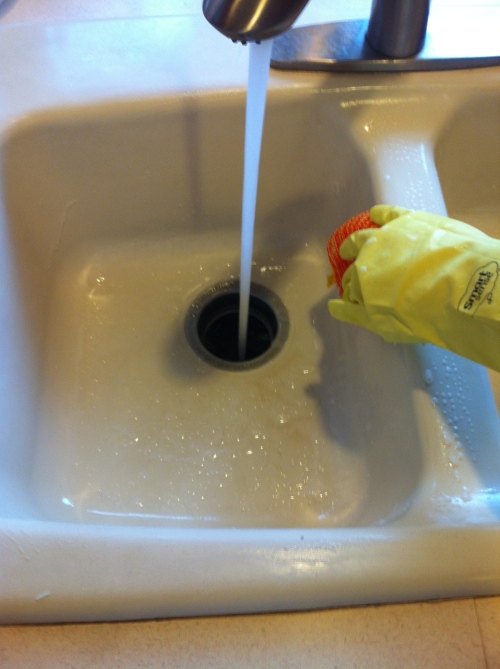
When you pull a peel out of the bag, run it under warm water until it is thawed, this will only take a few seconds.

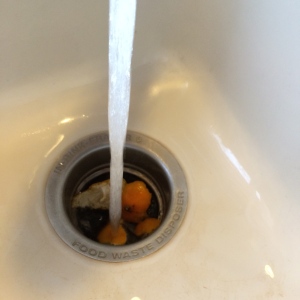
IMG_6021

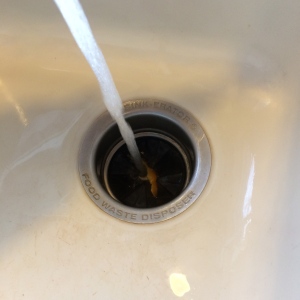
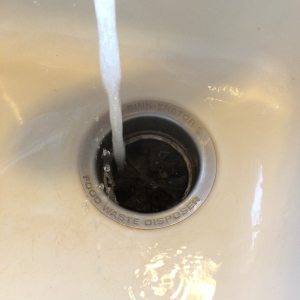
Drop it down the drain and turn on the disposal while running warm water.

IMG_6022

IMG_6023

IMG_6024

Once you no longer hear the  disposal chewing up the rinds turn it off along with the water and enjoy the citrus scent! So easy!

IMG_6025

IMG_6026

_________________________

Other Weekly Cleaning Tips:

Rubber Gloves

Toilet Bowl Rings

Dirt Rings

Bathroom Floors

Kitchen Sink

_________________________

A little about me:

I have decided to do a weekly series of cleaning tips! We recently moved into a new rental that I have been slowly deep cleaning and I thought, why am I not sharing these cleaning tips and information with others? Cleaning can be a daunting task, but once you have some knowledge and tools tasks can be much more manageable! Just for some background, I am currently a stay at home mom with three little boys, I am professionally trained in cleaning homes and have cleaned a fair share of other people’s homes and businesses and I hope I can share some of my cleaning knowledge with you!

If you have any questions or requests of what you need help cleaning please leave a comment and I will be sure to get back to you quickly!

Posted by: Meagan | December 5, 2014

Meat & Bean Slow Cooker Chili

My Meat & Bean Slow Cooker Chili is so yum! It is the only chili recipe I’ve EVER made that was completely eaten up! My husband and I had seconds, and had it for lunch the next day, we took some over to his grandparents, and even our two year old ate it up! I’ve made it again and instead of sharing I froze half of it to have on hand for a freezer meal for when baby #4 arrives! This recipe filled up my entire slow cooker.

My recipe is loosely based on Boilermaker Tailgate Chili Recipe on Allrecipes.com. We however, like a little heat, but not the amount in the Boilermaker recipe, and that recipe made much much more chili than I wanted to make for our weeknight dinner/would even fit in my large crock pot. I also changed some ingredients to our preferences and what we had on hand as well as a super secret ingredient I was introduced to this summer.

IMG_5675

Okay, so I like a lot of cheese on my chili, can you blame me?

IMG_5664

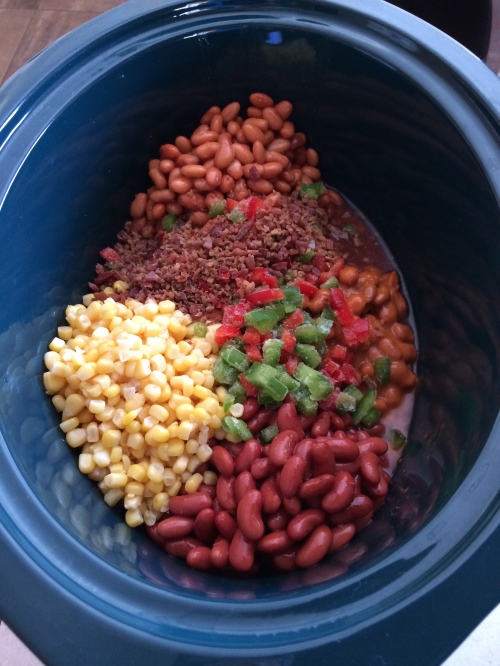
Canned and Fresh Ingredients:

– 15 oz. can Ranch Style Beans

-15 oz. can Kidney Beans, drained

-15 oz. can Pinto Beans, drained

-15 oz. can Corn, drained

-15 oz. can Diced Tomatoes

– 8 oz. can tomato sauce

– 1/4 cup Green Pepper, diced

– 1/4 cup Red Pepper, diced

– A few spoonfuls of bacon bits

Pour all of these ingredients in your slow cooker and turn it on low.


IMG_5666

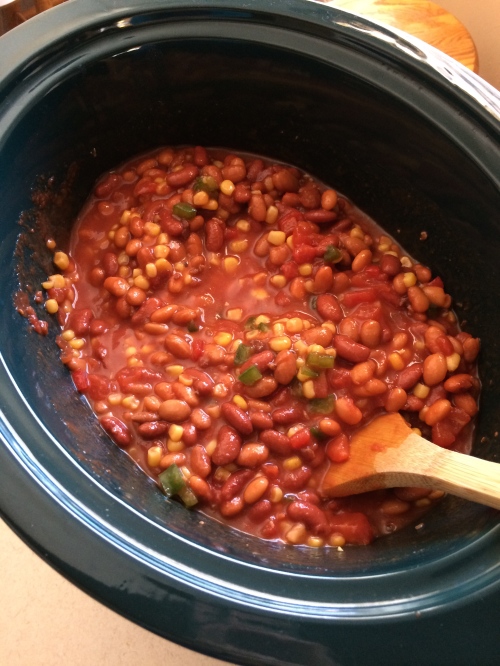
Then stir together

IMG_5667

IMG_5668

Spices and Other Ingredients:

1 lb. Ground Beef, browned

1 teaspoon Oregano

1 teaspoon Chili Powder

1 teaspoon Cumin

1 teaspoon Celery Salt

1 teaspoon Chopped Garlic

1 teaspoon Paprika

2 teaspoons Worcestershire Sauce

1/2 teaspoon Cayenne Pepper

1/2 can Ginger Ale

1 Tablespoon minced onion

5 heaping tablespoons of your favorite salsa

2 Beef bullion cubes


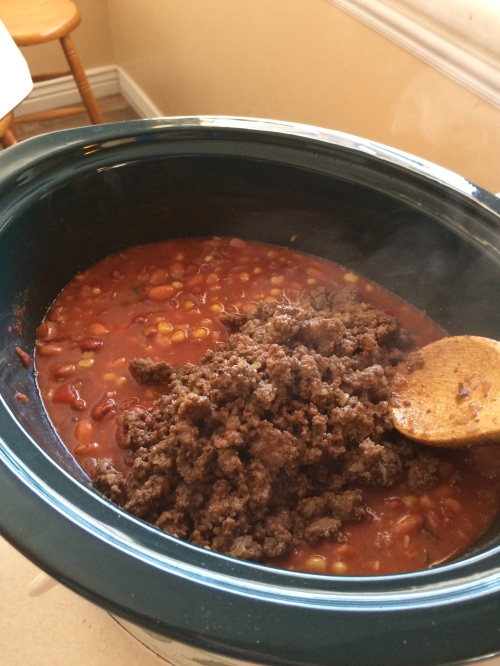
-Cook the ground beef with half of the onion, then pour cooked ground beef, and the rest of the ingredients into the slow cooker.


IMG_5671

Odds & Ends Ingredients:

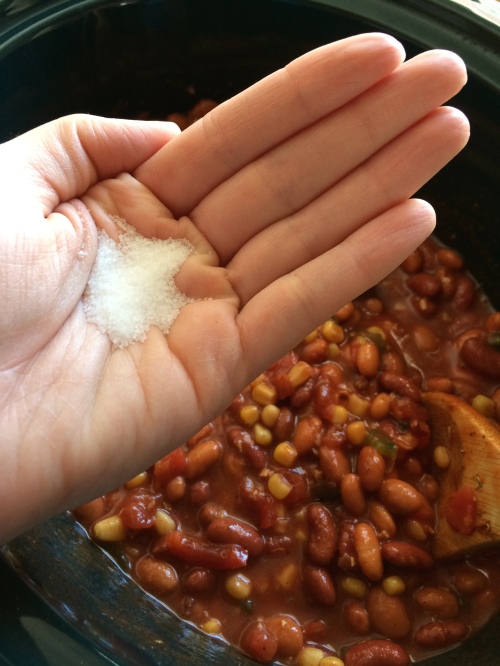
Salt and pepper to taste

Half a bar of milk chocolate, my new secret ingredient!  (I happened to have fudge on hand so I put in two large pieces of fudge!)

IMG_5669

IMG_5672

-Stir it all together and cook on high for 2 hours, and on low until you are ready to eat, or at least one hour. Serve over mashed potatoes, or rice or tortilla chips or Fritos and top with cheese!

Enjoy! This is now our favorite chili and it deserves to be shared!

Posted by: Meagan | November 24, 2014

Weekly Cleaning Tip: Kitchen Sink

IMG_5506

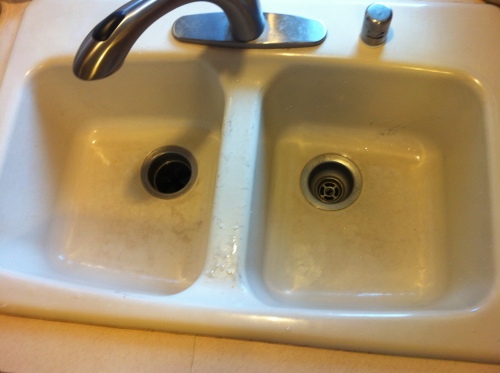
This week is the kitchen sink! If you have an older sink (like the one pictured above) or one of those cute farmhouse sinks, really any kind but a stainless steal sink you’ll need to clean it out. Washing pots and pans marks up the enamel in the sink. So you’ll need:

IMG_5507

Bar Keepers Friend or Comet, a scrubbing pad (SOS Tuffy pads are my favorite!) and rubber gloves.

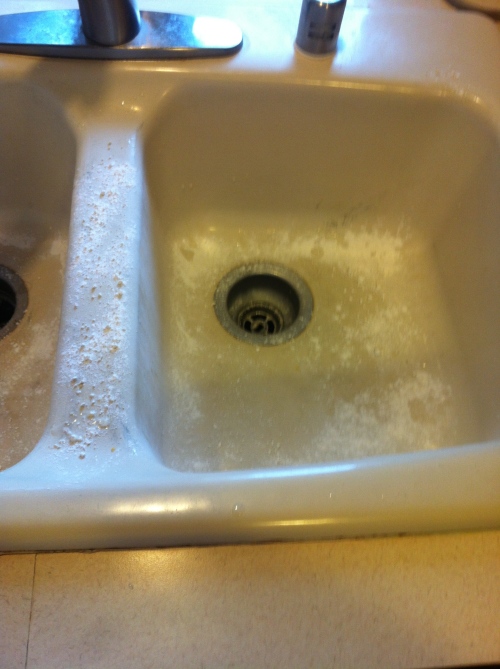
-Shake your Bar Keepers Friend all over the sink

IMG_5508

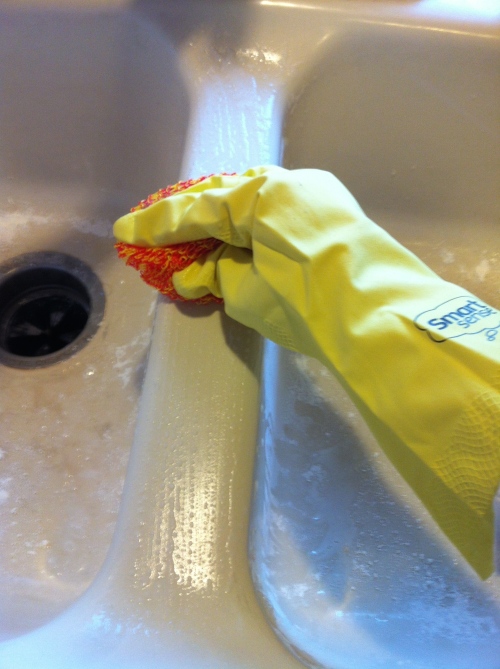
-Get your scrubbing pad wet and scrub

IMG_5510

-Scrub all over

IMG_5511

IMG_5512

-Once you’ve scrubbed everywhere, rinse out the sink well.

IMG_5515

IMG_5516

-Now you have a clean sink, you’re done!

IMG_5519

_________________________

Other Weekly Cleaning Tips:

Rubber Gloves

Toilet Bowl Rings

Dirt Rings

Bathroom Floors

_________________________

A little about me:

I have decided to do a weekly series of cleaning tips! We recently moved into a new rental that I have been slowly deep cleaning and I thought, why am I not sharing these cleaning tips and information with others? Cleaning can be a daunting task, but once you have some knowledge and tools tasks can be much more manageable! Just for some background, I am currently a stay at home mom with three little boys, I am professionally trained in cleaning homes and have cleaned a fair share of other people’s homes and businesses and I hope I can share some of my cleaning knowledge with you!

If you have any questions or requests of what you need help cleaning please leave a comment and I will be sure to get back to you quickly!
Posted by: Meagan | November 20, 2014

Drying Apples

IMG_5471


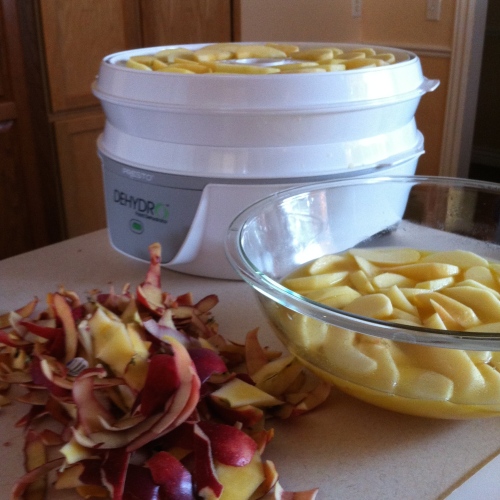
Alrighty people, you can go down a worm hole of  dehydrators, I have owned two and dried apples for about 5+ years. The dehydrator shown is my favorite of the two: Presto Brand, Dehydro Food Dehydrator. (I do not receive any money or compensation for mentioning this dehydrator, I just really like it.) Why is it my fav? The trays are made so you can collapse them and so your dehydrator isn’t so tall and awkward for storage. Also, it has a fan that blows warm air instead of only having a heating element at the bottom. My previous dehydrator only had a heating element and I had to rotate trays every couple of hours, but I don’t have to do that with this dehydrator. The fan is a little loud, but not bad. Another thing that I like, though I haven’t tried yet is that the Dehydro can dry meat as well as fruit and veg. In the owners manual there is a list of additional trays, like if you want to dry fruit leather, you need a different kind of tray made for liquids, or chopped vegetables will need a screened tray. The dehydrators with fans also take a lot less time to dry so you can do batches is less time.

IMG_4339

So, how do you go about drying apples? First, go to an orchard or if you local store is having a sale on apples buy a few pounds.

1. Core and peal apples. Generally I cut apples into quarters and cut the core out and then peal the quarters.

2. Cut apples. Once I peal the quarters I cut each quarter in half, and then each of those slices in half again. So you should get about 16 slices per apple.

—You can do steps 1 & 2 in one swoop if you have an apple peeler/corer/cutter tool. I do have one, but I find them to me more of a hassle than I care to deal with.—

3. Acid. Soak your apple slices in pineapple juice, or any other kind of acidic juice. Generally I have a large punch bowl and put my juice in it and as I slice apples I just toss them in and occasionally stir the juice around to make sure the apples get juice on all sides. Once I run out of room in the bowl then I start putting apples on the dehydrator racks.

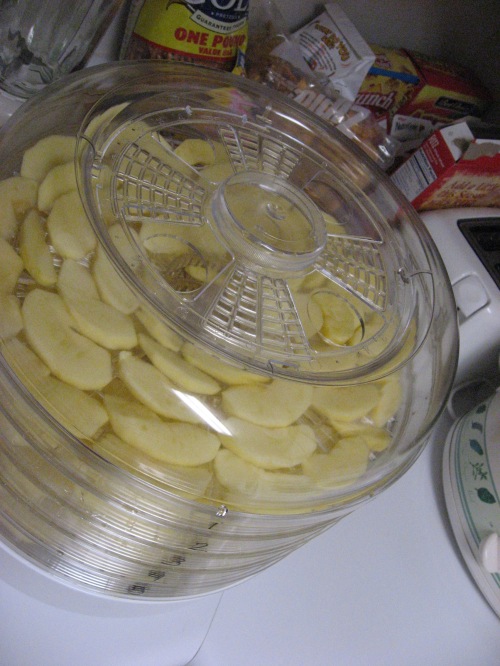
4. Put apples on dehydrator racks. Do not overlap apples, though they can touch. If you have them touching on all sides or overlapping they will not dry evenly.

(pictured is my old dehydrator)

IMG_4369

5. Plug in the dehydrator once all the racks are filled and the lid is on. Follow drying instructions in your particular manual.

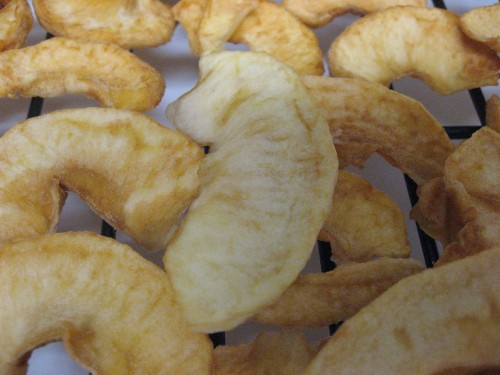
6. Finished apples! Pictured are apples from my first dehydrator. They always turned out darker than the ones I get from my new dehydrator. I think this is because it took a lot longer for them to dry. My new dehydrator gives me apples that are pretty much the original flesh color with very little browning. Either way they still taste great though.

IMG_4363

7. Cool Down. Place apples on a wire rack to cool for a few minutes. It doesn’t take long for them to cool down. Just remember that as they cool they will become more stiff, less flexible, less chewy.

8. Snack or Bag them. You can eat them right away or bag them. I found that with my dehydrator I can just stuff my four racks of apples into a freezer quart sized bag. I then write the date on the bag and stick them in the cupboard for later eating.

Posted by: Meagan | November 17, 2014

Pumpkin Chocolate Chip Cookies

Mmmmm! These Pumpkin Chocolate Chip Cookies are a family favorite around my house and so simple! There are only three ingredients, so I often have everything I need on hand, they are a great go-to for a fall or winter treat. I have made them for years, taken them to numerous events, kids love them as well as adults, they are always a hit!

IMG_5469

Ingredients:

1- 15oz can pureed pumpkin

1 box of spice cake mix

3/4 a 12oz. bag of chocolate chips (either milk or dark chocolate, whichever you prefer)

Directions:

Preheat the oven to 350* and put the cake mix and pureed pumpkin in a large mixing bowl. Use a hand mixer to mix until smooth. Then add in chocolate chips.

IMG_5463

Drop spoonfuls of dough on a greased cookie sheet. And cook for 15 minutes. (The bigger the spoonfuls the longer it will take to cook.)

IMG_5466

Once the cookies are done, (you can tell because the tops will all be a uniform color, as shown) then put on a cooling rack.  This recipe will make about two dozen cookies, depending on how big you make. Enjoy!

IMG_5468

Posted by: Meagan | November 17, 2014

Weekly Cleaning Tip: Bathroom Floors

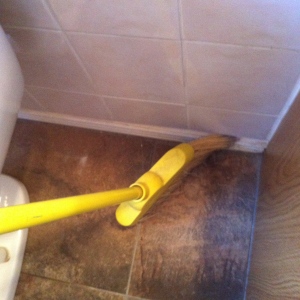
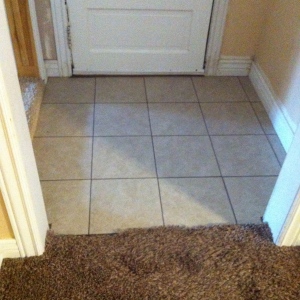
Floors. What can I say about them? They can be awkward to clean for sure. So after you have cleaned the rest of the bathroom get ready to clean the floor. It will take no more than 10 minutes. First, remove all trash cans, bath toys, towels, laundry baskets or whatever else may be on the floor and put them in the hall. Then get out your broom and sweep. While you sweep remember to sweep along the tops of the baseboards as well.

IMG_5494

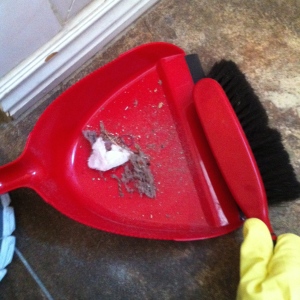
Once you have swept everything use your trusty dust pan and brush and sweep it up. A dustpan and small brush are way more convenient than trying to sweep your dirt into a dust pan with your big broom. I think I bought my dustpan and brush for $8 at the local grocery store.

IMG_5496

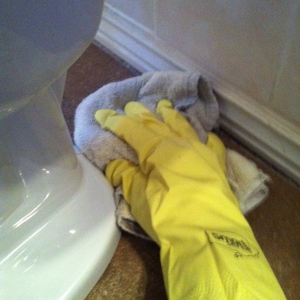
After you sweep, do NOT get out your mop! You will get a faster, less messy and more thorough clean if you just use your favorite all purpose spray cleaner and a cleaning rag. Don’t forget to use your rubber gloves!

IMG_5503

It is nearly impossible to clean behind the toilet with a mop, but with your spray bottle, rag and trusty gloves you wont be afraid to clean behind the toilet.

IMG_5502

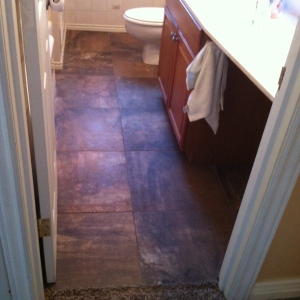
And before you know it, clean floor! Beside getting a superior clean hand washing, you can walk on the floor immediately and put your laundry basket and trash can back immediately as well.

IMG_5500

Hand washing the floor can and should be used on any small floor. This is how I clean by our backdoor, and when I cleaned professionally we also did most kitchens this way as well.

IMG_5501

_________________________

Other Weekly Cleaning Tips:

Rubber Gloves

Toilet Bowl Rings

Dirt Rings

_________________________

A little about me:

I have decided to do a weekly series of cleaning tips! We recently moved into a new rental that I have been slowly deep cleaning and I thought, why am I not sharing these cleaning tips and information with others? Cleaning can be a daunting task, but once you have some knowledge and tools tasks can be much more manageable! Just for some background, I am currently a stay at home mom with three little boys, I am professionally trained in cleaning homes and have cleaned a fair share of other people’s homes and businesses and I hope I can share some of my cleaning knowledge with you!

If you have any questions or requests of what you need help cleaning please leave a comment and I will be sure to get back to you quickly!
Posted by: Meagan | October 26, 2014

Weekly Cleaning Tip: Dirt Rings

I am so so sorry for the unexpected two week break in my weekly cleaning tips, I haven’t been feeling well and thus, have gotten behind. But without further adieu, I share with you, how to clean Dirt Rings.

IMG_5361

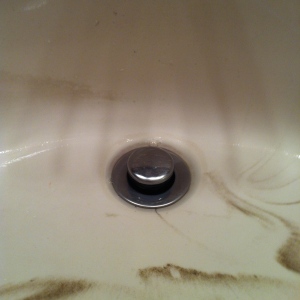
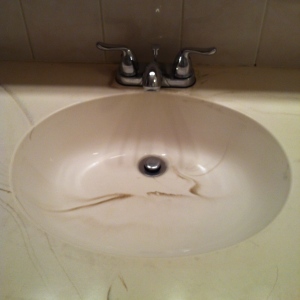
Dirt rings are so, so gross. And honestly, I can say that I never saw one in a bathroom sink until we moved into this rental! But whether the ring is in your tub or sink, you CAN get rid of them! I wont lie though, it takes elbow grease and…….

IMG_5369

IMG_5372

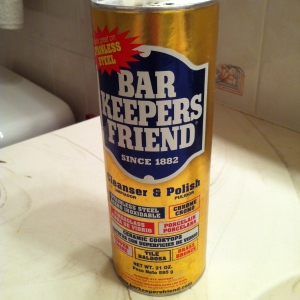
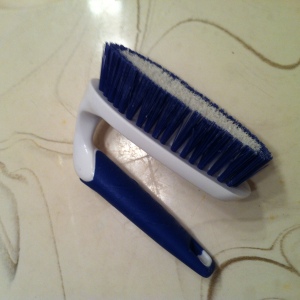
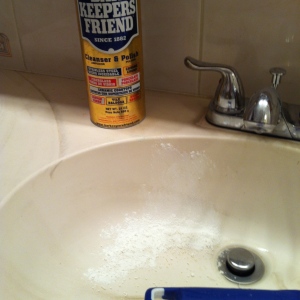
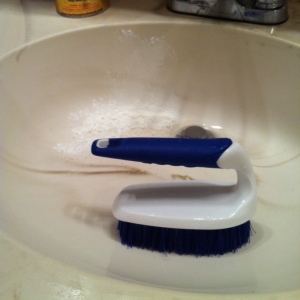
I LOVE Bar Keepers Friend, it is cheaper than Comet and I think it works just as well if not better. It is also mostly odorless and doesn’t leave that chemically smell you can get from Comet and other similar cleaners. You also need a STIFF handled (my preference) scrub brush.

First you are going to put on your rubber gloves and get the sink damp, just run the water and splash it around the sink, primarily on the ringed area. Then you will shake Bar Keepers (or equivalent) on the ringed area and around the drain. And now you can prepare yourself because it is time to scrub the dickens out of that nasty, dirty ring.

In this picture I have scrubbed a little more than half the dirt ring and only for a minute or so. Serious improvement no?

IMG_5373

Then you will repeat on the other side of the dirt ring.

IMG_5376

IMG_5377

And WOW! Cleanliness is restored!

IMG_5379

IMG_5378

You may want to take this time to scrub out around the overflow drain as well. Those can get filthy because they are often neglected. (They ARE hard to see, and thus easy to forget.)

_________________________

Other Weekly Cleaning Tips:

Rubber Gloves

Toilet Bowl Rings

_________________________

A little about me:

I have decided to do a weekly series of cleaning tips! We recently moved into a new rental that I have been slowly deep cleaning and I thought, why am I not sharing these cleaning tips and information with others? Cleaning can be a daunting task, but once you have some knowledge and tools tasks can be much more manageable! Just for some background, I am currently a stay at home mom with three little boys, I am professionally trained in cleaning homes and have cleaned a fair share of other people’s homes and businesses and I hope I can share some of my cleaning knowledge with you!

If you have any questions or requests of what you need help cleaning please leave a comment and I will be sure to get back to you quickly!
Posted by: Meagan | October 8, 2014

Cleaning Tip of the Week: Toilet Bowl Ring

Having a ring in your toilet isn’t terrible, but… it looks pretty gross. So here is a fast and easy way to get rid of that ring in 2 minutes or less.

IMG_5371

The scouring stick is actually the length of the box, I generally break them in half to use them. I find the full length a little too long to comfortably handle. You can find these at any Wal Mart or grocery store. They can be a bit pricy for a piece of stone, like $5, but it is worth the money!

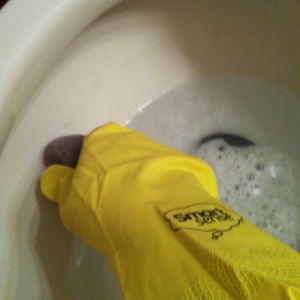
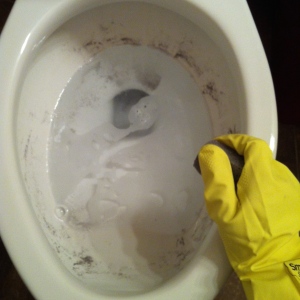
First you are going to want to put on your handy dandy rubber gloves and then give your toilet a good scrub.

IMG_5380

Then flush the toilet and get scrubbing.

IMG_5381

And scrubbing. (The grey grit in the picture is what you scrub off the pumice stone, it will flush away no problem.)

IMG_5382

The pumice stone will sound like it is grinding against your porcelain throne, but never fear, it wont damage your toilet at all, just scrub all the yuck off. Then flush the toilet and reinspect to see if you missed any spots.

IMG_5383

And give it another once-over if needed.

IMG_5384

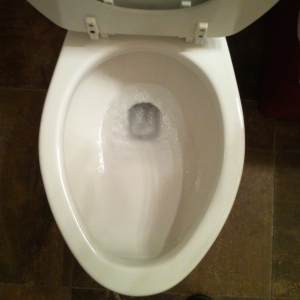
And WHAM! A beautiful, clean toilet you can be proud of in just minutes.

IMG_5385

And just an FYI, I always keep a Clorox toilet tablet in the tank to keep those yucky rings from reappearing. Which definitely makes for easier cleaning in the future.

_________________________

Other Weekly Cleaning Tips:

Rubber Gloves

_________________________

A little about me:

I have decided to do a weekly series of cleaning tips! We recently moved into a new rental that I have been slowly deep cleaning and I thought, why am I not sharing these cleaning tips and information with others? Cleaning can be a daunting task, but once you have some knowledge and tools tasks can be much more manageable! Just for some background, I am currently a stay at home mom with three little boys, I am professionally trained in cleaning homes and have cleaned a fair share of other people’s homes and businesses and I hope I can share some of my cleaning knowledge with you!

If you have any questions or requests of what you need help cleaning please leave a comment and I will be sure to get back to you quickly!
Posted by: Meagan | September 30, 2014

Cleaning Tip of the Week: Gloves

I have decided to do a weekly series of cleaning tips! We recently moved into a new rental that I have been slowly deep cleaning and I thought, why am I not sharing these cleaning tips and information with others? Cleaning can be a daunting task, but once you have some knowledge and tools tasks can be much more manageable! Just for some background, I am currently a stay at home mom with three little boys, I am professionally trained in cleaning homes and have cleaned a fair share of other people’s homes and businesses and I hope I can share some of my cleaning knowledge with you!
 

Tip #1: Rubber Gloves!

IMG_5356

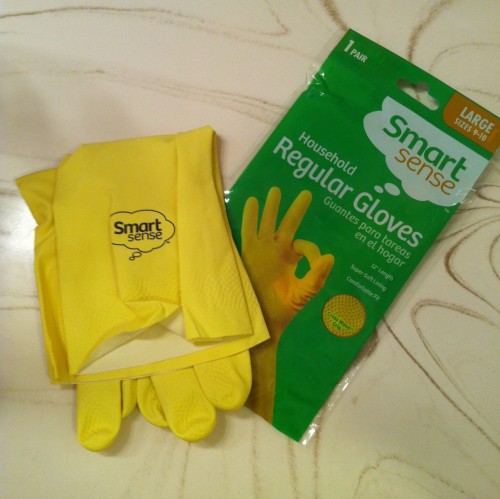
This isn’t something I thought was necessary at all until I was professionally trained to clean. You are much more likely to get in there and get hard to reach places and gross places nice and clean if you have a glove barrier. I buy cheap rubber gloves, they are just $1 or $2, and I buy several packs at a time, this way I don’t get upset when my gloves get a hole in them. I just toss them out and grab a new pair.

If you have long fingers, buy the Large sized gloves, the scale says I need Medium, but I have long fingers so the Large fit me best. If you don’t have long fingers, can check the back of packages for sizing scales.

IMG_5357

So there you go! Cleaning Tip #1: Rubber Gloves, it will make a big difference I promise!


Posted by: Meagan | August 20, 2014

Heart Attack

I have three sons, they are great and I love them, but one…

IMG_4261

This one…

IMG_4818

Is going to give me a heart attack. I am fairly certain of it. He isn’t afraid of heights and climbs anything he can including his big brother’s bunk bed,

IMG_5209

IMG_5196

he jumps off the couch,

IMG_4053

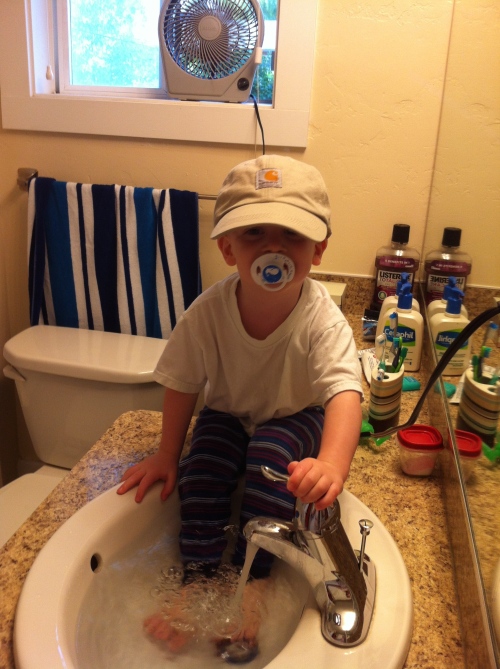
he has on several occasions tried playing with electrical outlets while sitting in water,

IMG_4996

he eats rocks, he takes his shoes off to walk on sharp objects, he likes to hide in the dryer,

IMG_4988

he drinks out of puddles and has fallen into a pool, he thinks he’s a ninja,

IMG_5038

he is charming and even talks his great grandma into giving him HER birthday cake…


IMG_4976

IMG_4972

AND he isn’t even two yet. Help!

Older Posts »

Categories